Whew…
I am exhausted!
Getting back in to the swing of things has been an adjustment for sure…but we have been learning lots of great things this week!
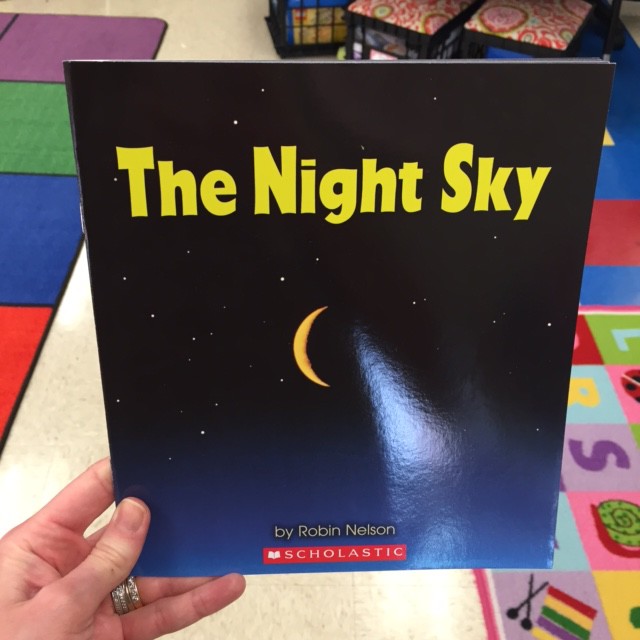
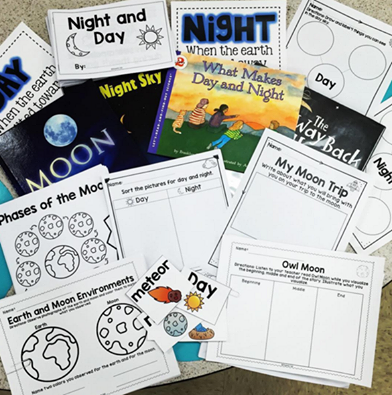
The first thing we did this week for day and night sky was read about it (I mean…how else do you introduce a topic!?)
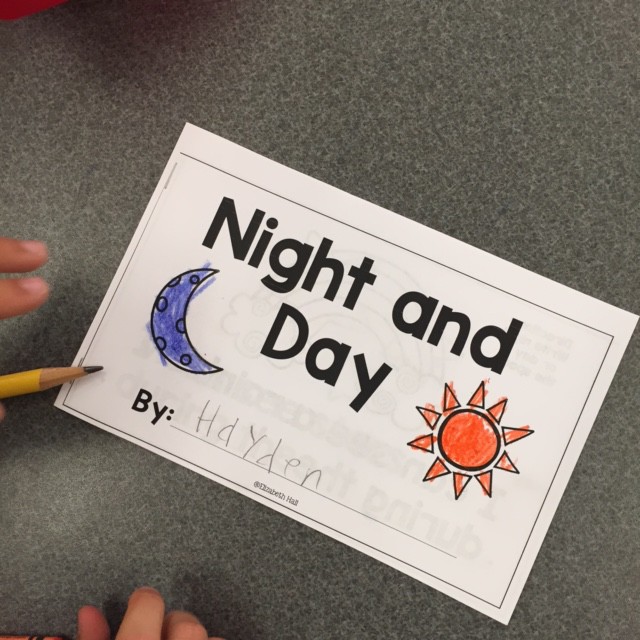
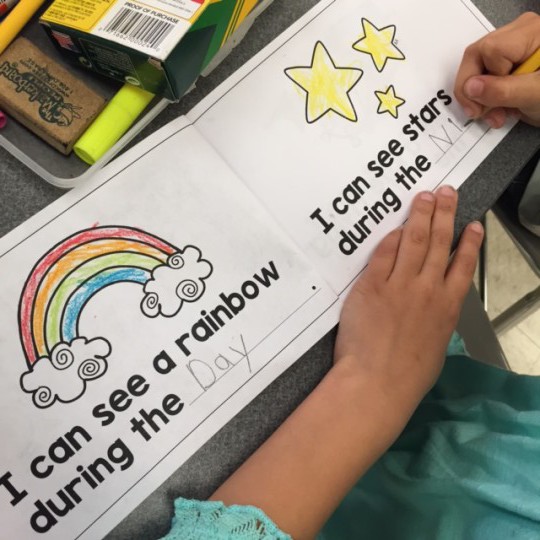
The students also completed their own emergent reader to take home.
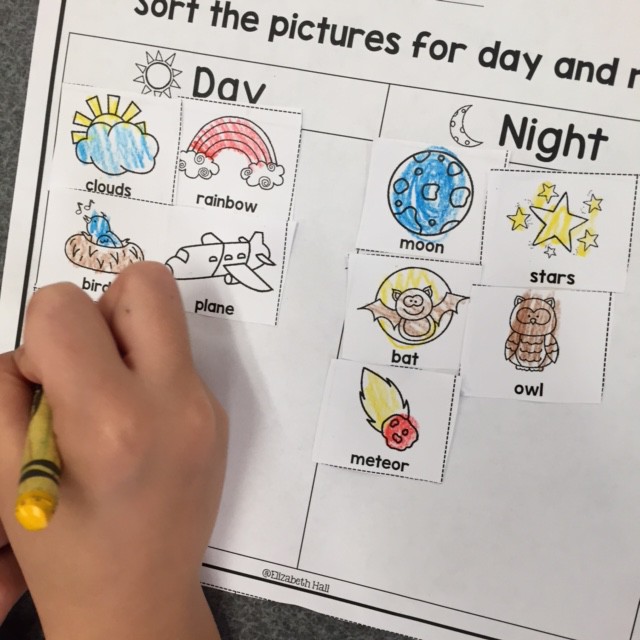
All they had to do for this activity is fill in “day” or “night” depending on if they thought the object could be seen in the day or night sky. I let them write it on their own as sort of a pre-assessment to see if there were any kiddos that really had no idea. I would say most of them had a good grasp on what they could see in the day and night sky.
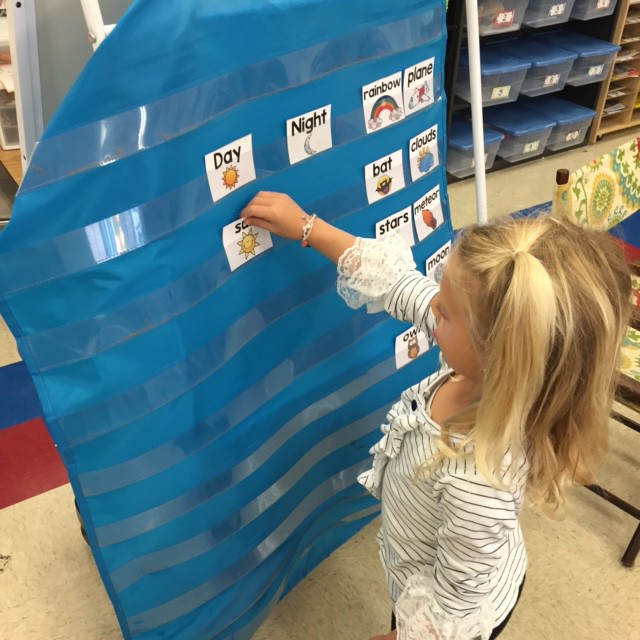
We then sorted pictures together and discussed different objects you can see in the day and night sky. One of the big topics of discussion was the plane. I had a student say that you can see a plane in the night sky. I asked him if he could see the actual plane or just the lights. His response was just the lights, so we decided to keep plane on the day side. We also discussed how you can sometimes see the moon in the day sky but ultimately thought that it should be left on the night side since the sun was in the day column.
I did a check for understanding. Then, I had them go check themselves on the pocket chart. If they could do it independently…they got a big ole’ check for report card ;0)
Now that they had the standard down…we had a little fun and talked about the surface of the moon. We compared what the surface of the earth was like and then we discussed the surface of the moon. First, we looked at photographs of the earth and the moon. These posters are provided by my district, you could just pull some up to show your kiddos.
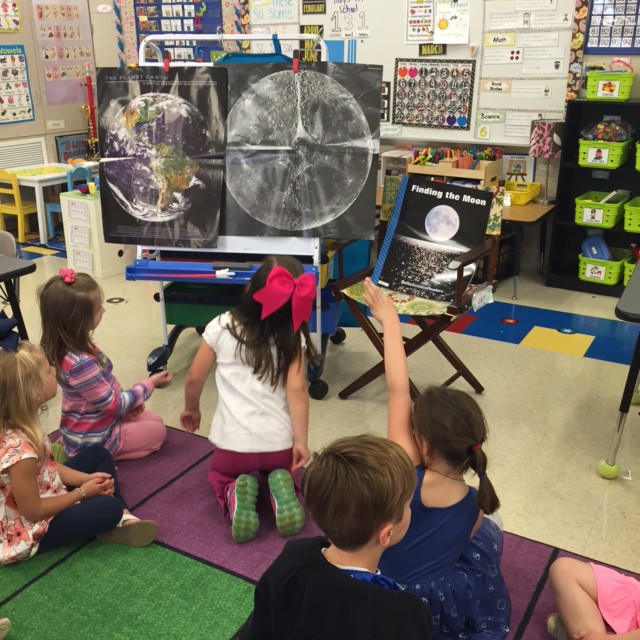
I like to have the students discuss the colors of each and why the earth is green and blue and the moon is gray and black.
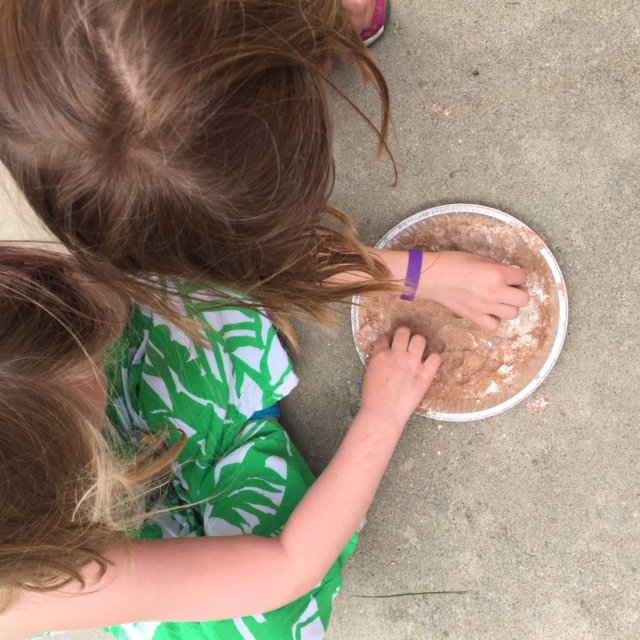
Then, we start talking about craters and why the moon looks like it has “holes” in it. Then, I create “moons” with pans layered with sand, flour and then cocoa on the top. It is supposed to resemble the surface of the moon but everyone will tell you that they think they are going to bake cupcakes…
I always pre-make my moons. This can be a blessing and a curse because at least one will get stepped on.
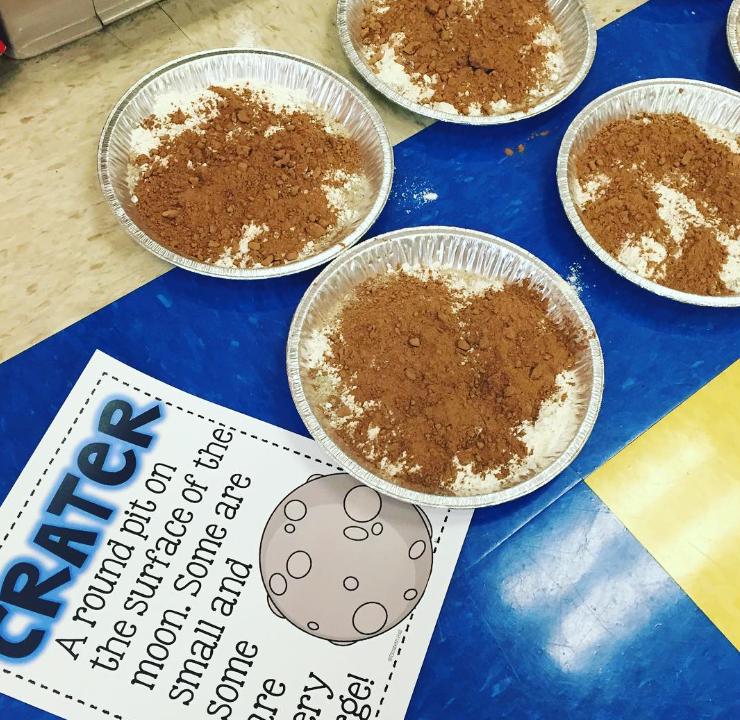
When will I learn? Good thing the custodian and I are friends because I’m sure she was fit to be tied!
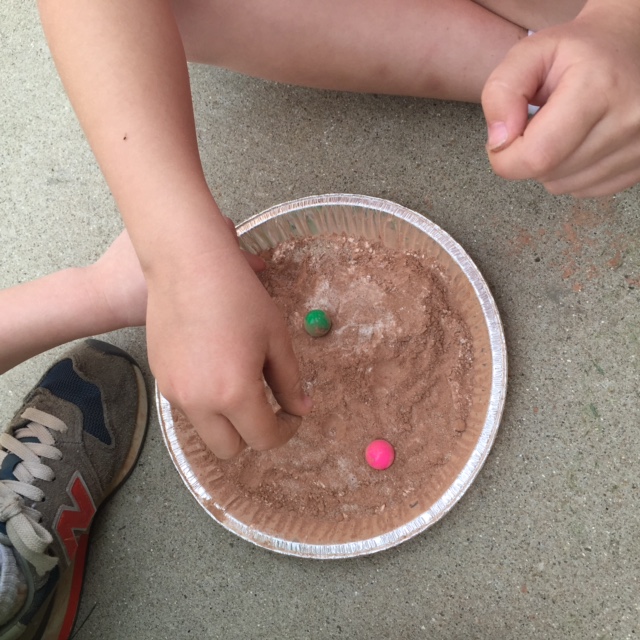
I put the kids in groups of 2-3 and give each of them a marble. The marble is supposed to be the rocks and astroids that hit the surface of the moon. Before we start, I have them smooth out the surface of the moon with their hands and then marbles start flying. I highly recommend that you do this activity outside 🙂
As they drop their marbles on their moons, it starts to look like a crater filled pan of cocoa 😛
Once we have successfully covered ourselves from head to toe in flour and cocoa, we are able to see that craters are formed from rocks and asteroids flying around in space that hit the surface of the moon.
After about ten thousand baby wipes and hand washing, we moved on to the reflection part. Here are two of the reflections that I was able to snap a picture of.

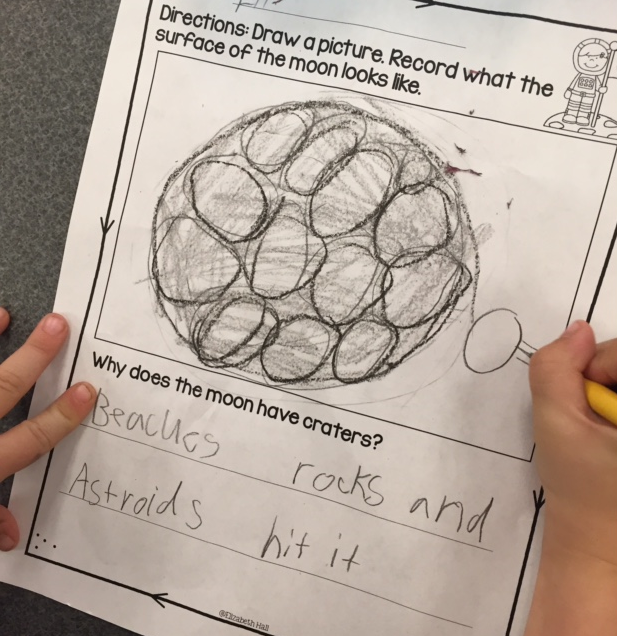
I really felt like they grasped the concept and had a lot of fun getting their hands (clothes, hair, shoes…etc) dirty in the process.
All of these activities (plus more 🙂 are in my day and night sky unit which I will put on sale through tomorrow!

