It’s Spring Break. I am proud of myself for actually even attempting to do anything. Of course, I can’t sit still for more than two seconds so I have been occupying my time with housewarming parties, house guests, and D.I.Y. Sunday projects. I can’t help myself…
![]()
A friend of mine introduced me to a fabulous app called PostalPix. It is fabulous for a few reasons. The first reason is you can pick any size you want that you can’t get most places. Maybe you can and I just don’t know about it, but that is one of the reasons I love this app. The other reason I love this app is because I am just plain lazy when it comes to printing out pictures. These pictures land in your mailbox within 3 days and you can just up-load the pictures from your phone.
Boom.
That was the sound of your mind being blown.
I also ordered a fab mouse pad for my desk at school because I may or may not have spilled my entire water bottle over the old one.
Subconsciously, I knew I needed a new one with super cute pictures to click on all day.
I’m off topic…per ushe.
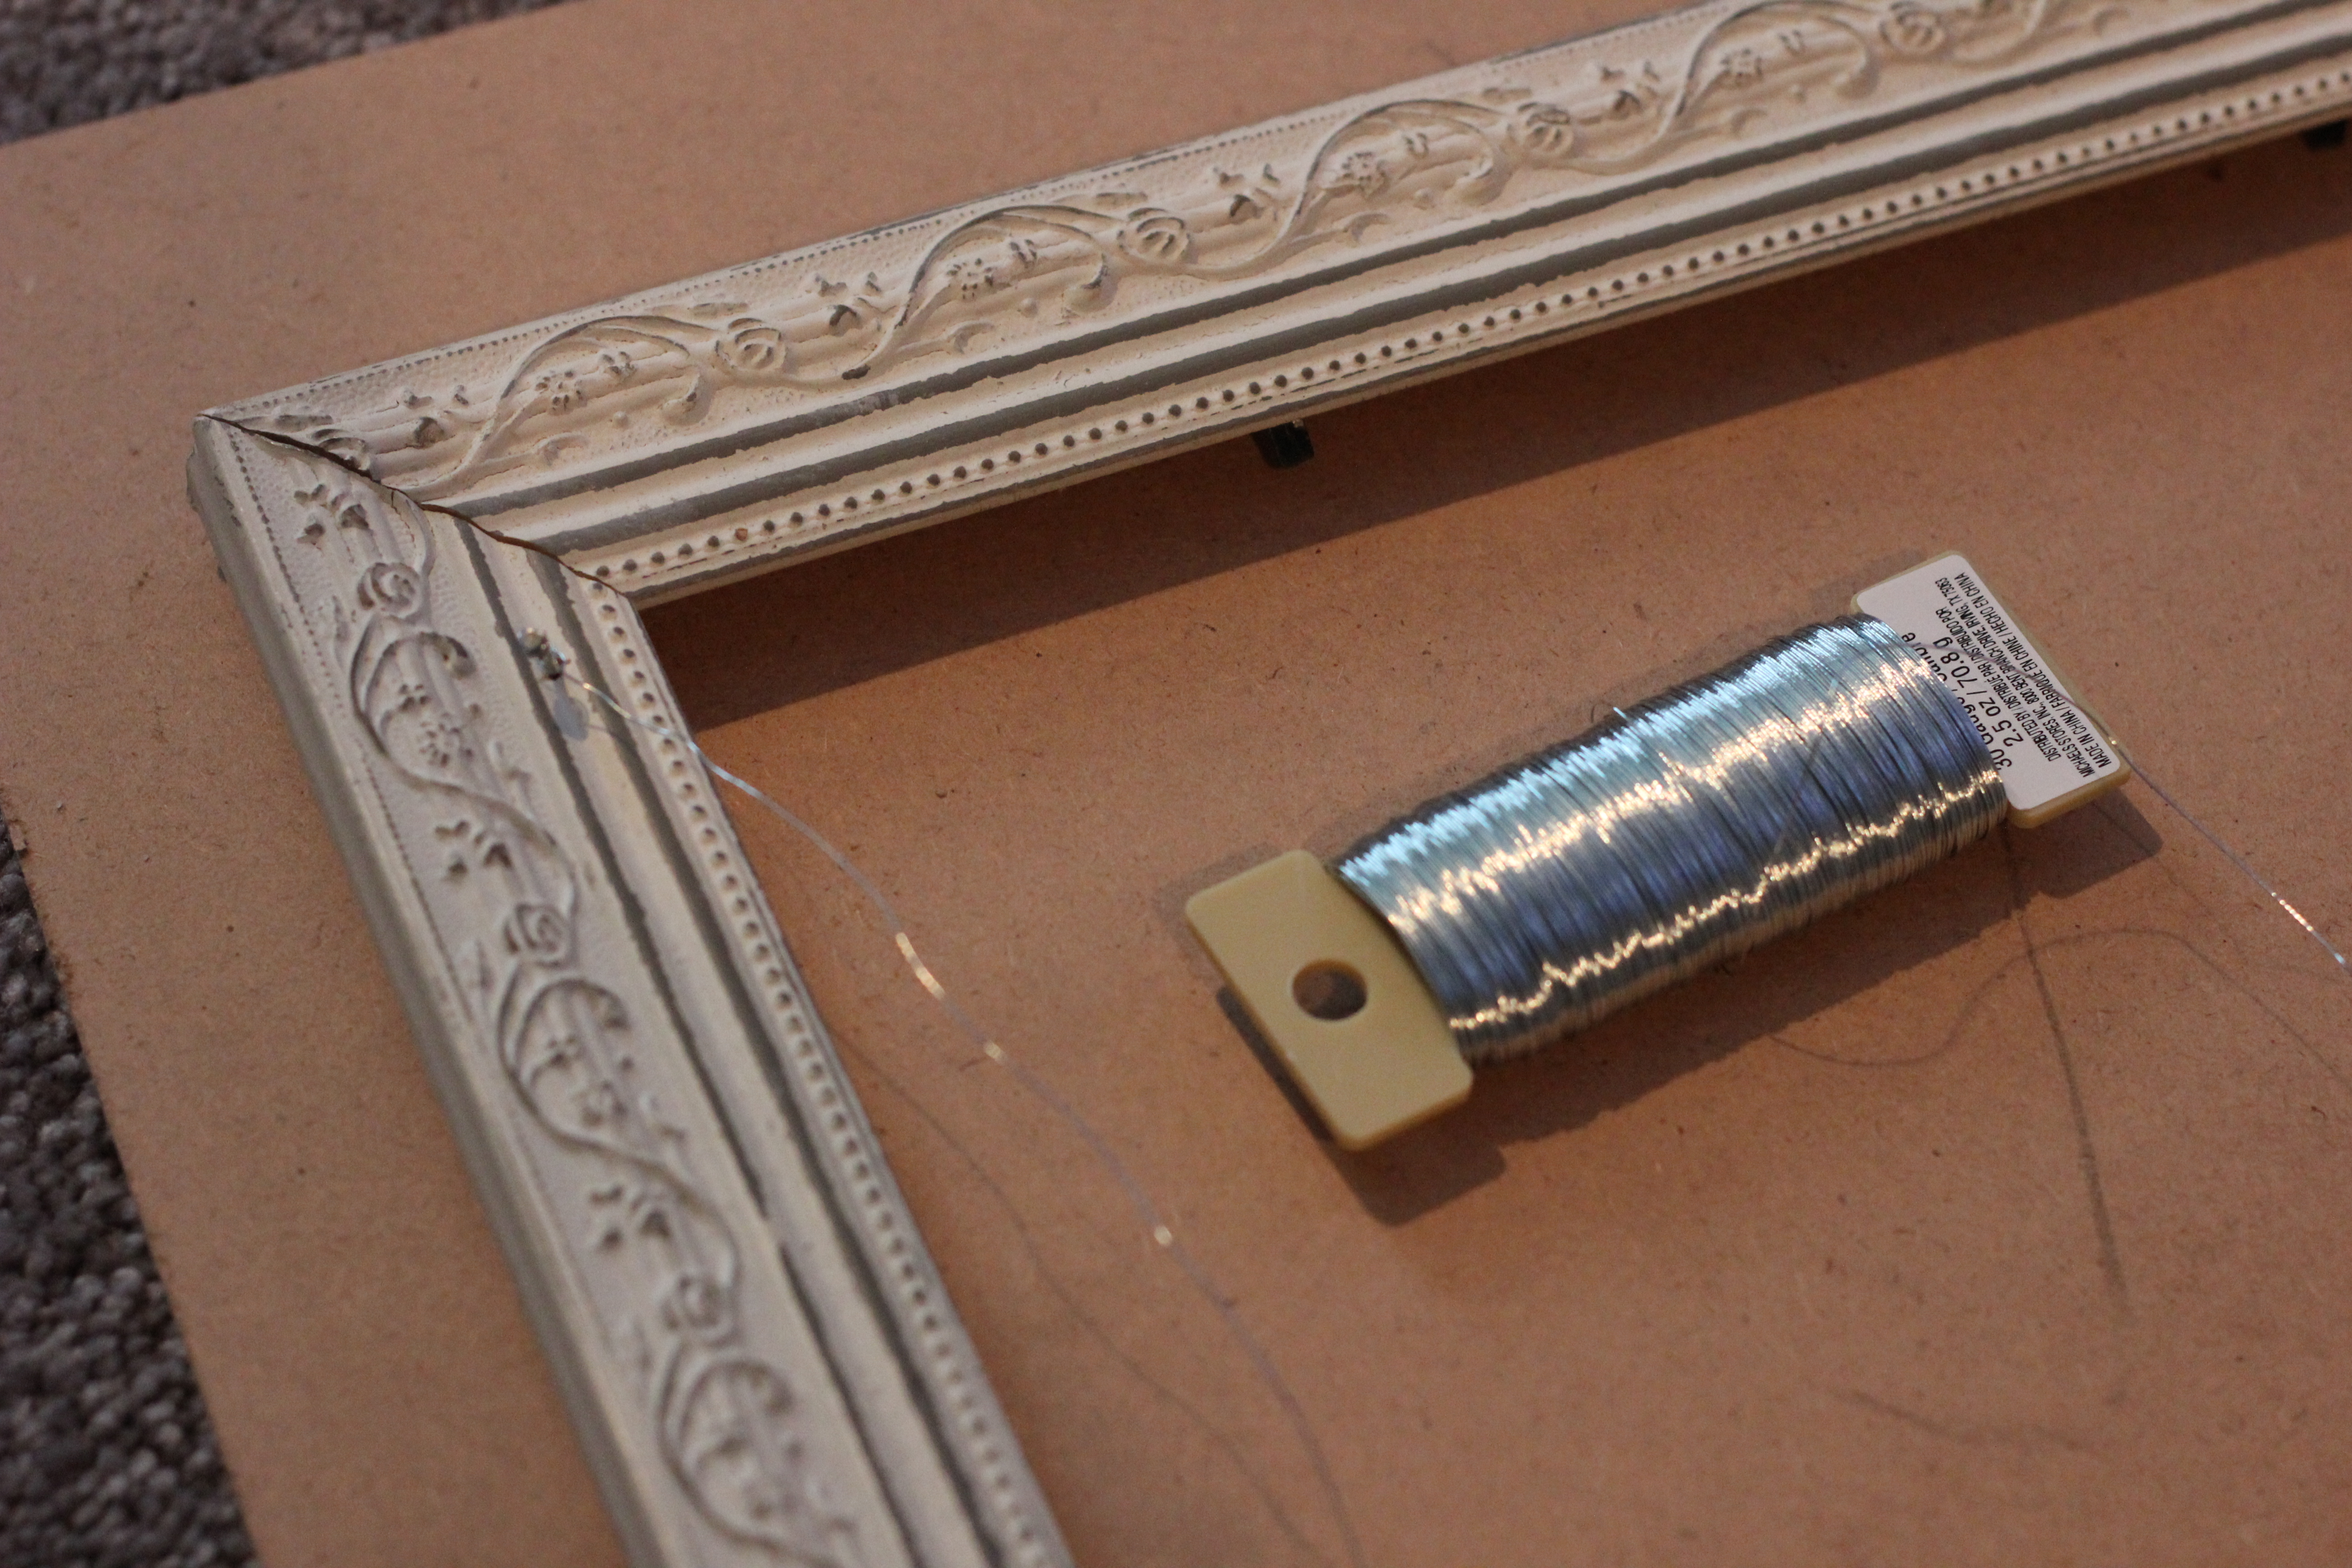
Here is what I made from this super app, an old frame, wire, tiny clothespins, nails and a hammer. If I can do it, your five year old can probably do it in less time than me.

Here is what you need before you tackle this super simple project 🙂
1. Hammer and nails
2. Postal Pix (I used the 4×4 size, but you can measure out your frame and how many will fit across) 3. That picture frame (sans glass) that you can’t get rid of but aren’t sure what to do with. 4. Tiny clothespins. (I got mine off of Amazon…notice a trend here? Everything just comes to me 🙂 
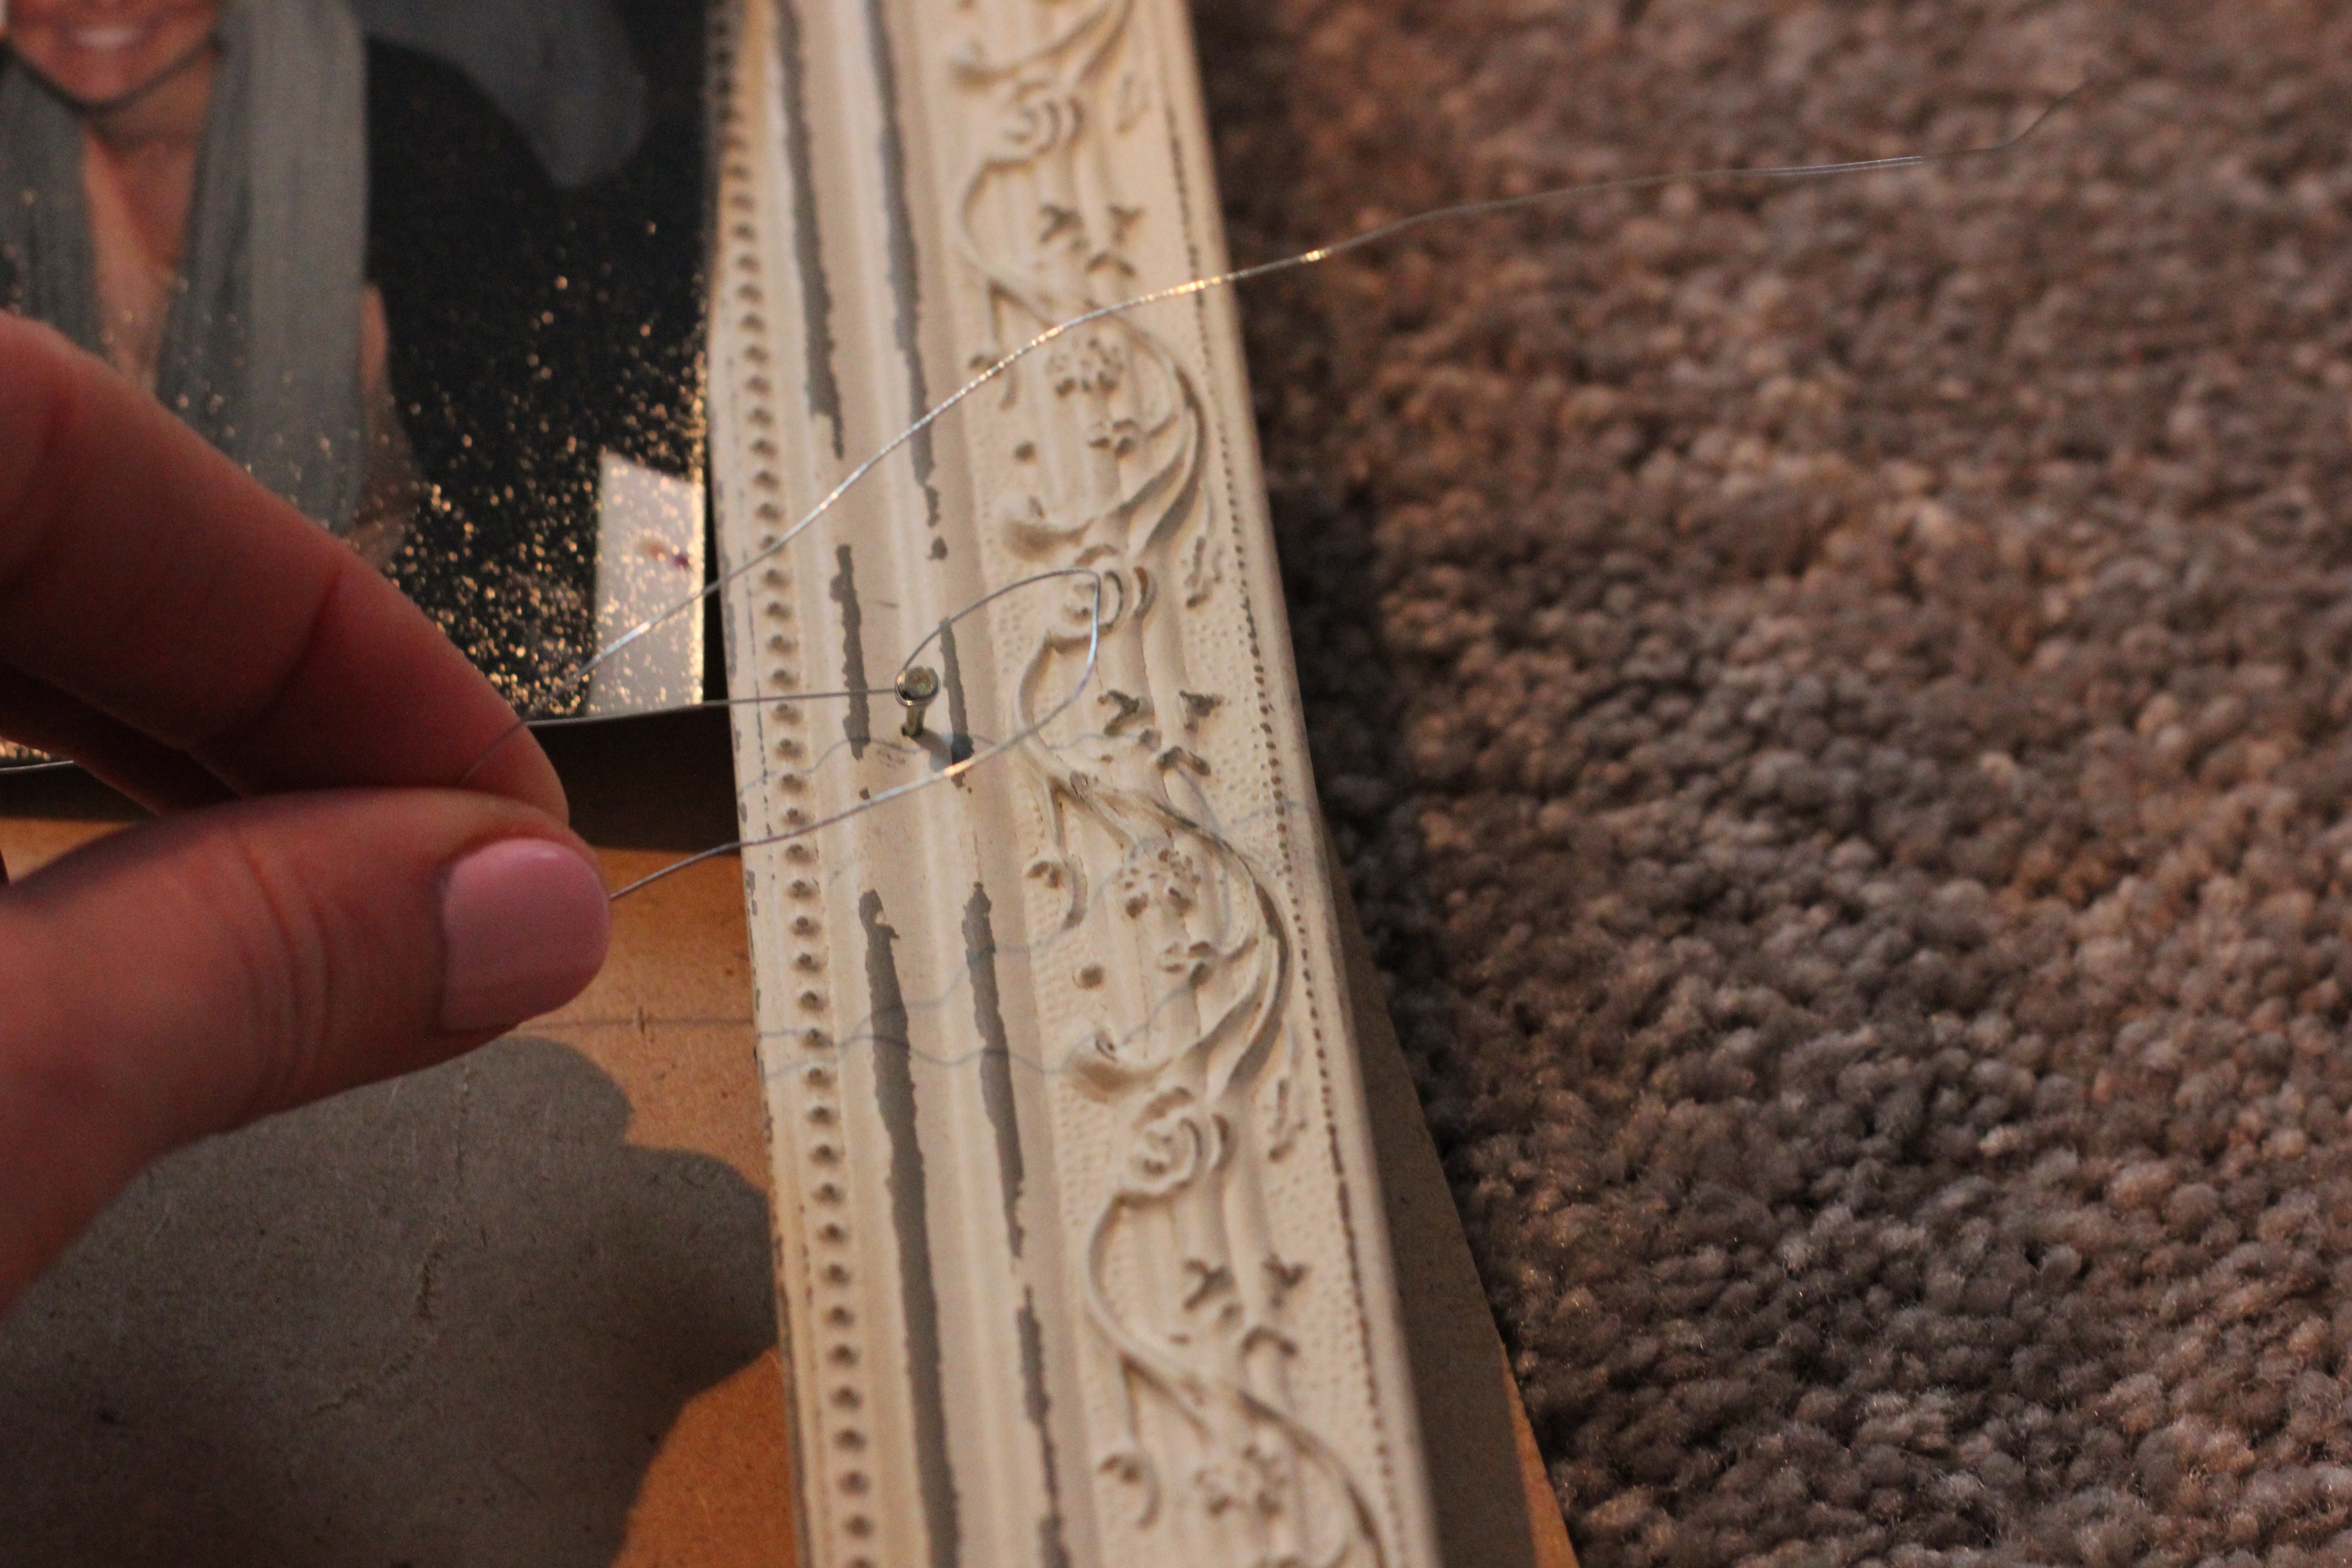
Now you are ready to start hammering! I tried to do it on the carpet, but it was pretty difficult. I ended up just using the cardboard that was in the frame behind the glass to make it a bit more sturdy. Watch those fingers! You will want to use small nails so they aren’t sticking way far out so keep your little fingers out of the way…because it hurts. My fingers might like to tell you about it sometime.
After you have lined the nails up so they are directly across from each other, wrap the wire around the nail more than you think necessary.
Then, rinse and repeat until you have all of your pictures lined up along the width of your frame.
I am not kidding when I say that you will be amazed at how easy it is.
Use the clothespins to hang the pictures like you would a regular old clothesline.
Now you have a picture frame that will do a lot more than just showcase one big picture. It’s hanging happily in our hallway right now.
On top of that…I feel like I just owned Pinterest.
So there ya go.
Happy Sunday to you. Usually, I am planning this time of the week and sharing all of the fun that we will but having, but we will just have to save that for later. I am dreaming of warm weather and toes in the sand.
Happy Spring Break (if you are on it) and/or St. Patty’s Day!
Be sure to head over to Blog Hoppin’ to check out our fun St. Patty’s Day giveaway!