I’m not going to lie.
Teaching subtraction gives me gray hair.
I have been doing this lesson for a few years and I come up with something new every time I try it out. I don’t think that it’s anywhere close to being perfected, but it’s a start! This year, another fab K teacher that I work with talked about how hand motions really helped her group this year. When we talk about addition, we take two hands to represent the two groups and then clap them together to show we are joining the groups. She told me that this year, she told the kids to use one hand. I took it a step further and told them to put one hand behind their backs to show they are going to scoop away.
Here is what we did:
First of all, I showed you all these boards that are just made out of construction paper when I did a similiar post about addition. This is the same board, but when it flips over it shows subtraction. It is laminated and we use expo markers to plug in the numbers. I modeled how to do it a few times and then we tried a few together. I passed out counters and had them create their own work space so that they didn’t confuse counters. You can use mats to create that space but I just don’t have the room on my tables.
For the subtraction boards, I have the take away part a different color as a visual reminder that they are doing something different than putting together. That is up to you on whether or not you want the boxes to be different.
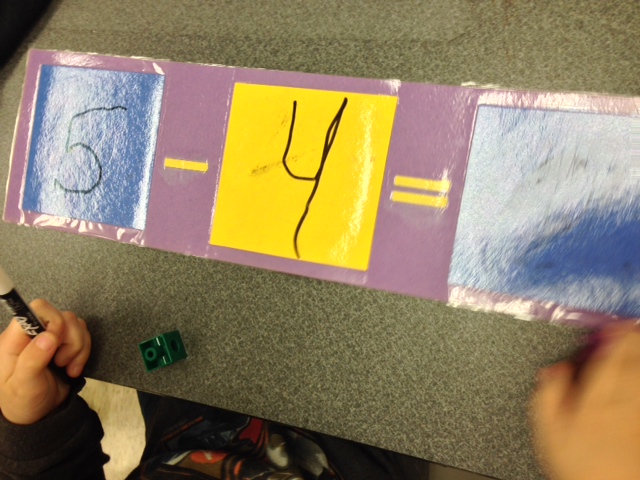
After we do a few together, they start to do them on their own as I give them the numbers (for the first part). Showing how they take away using one hand. 
Then, I pass out the recording page where they have to record the numbers that they are using to subtract. Typically, I tell them that the first number needs to stay below 10. 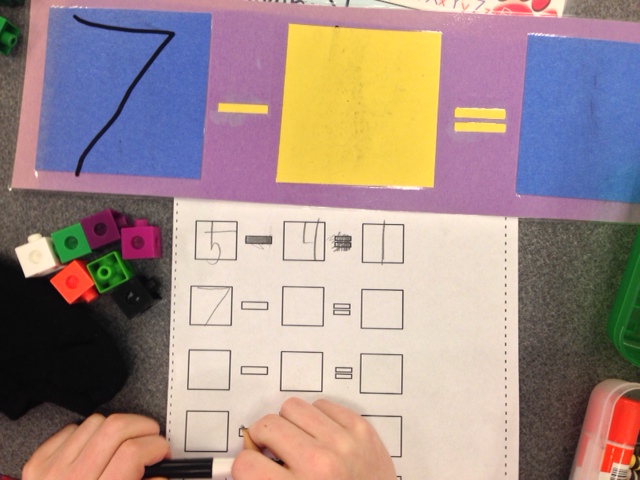
Here is the recording page we used for our problems {click on it to grab it from my docs}. 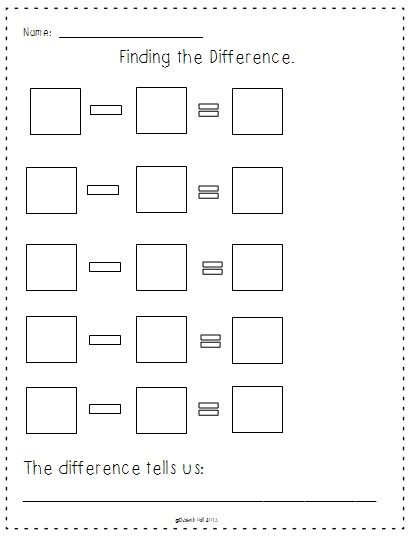
Even though it’s math, there is still some writing involved. At the bottom of the page, students are asked to explain what the difference is.

You may need to spread this lesson over a day or two. Don’t rush it. If you get the sense from your kiddos that they are worn out from this first part, then stop.
The next part is where we get in to some higher level thinking and working together. Next, the students are asked to create their own subtraction problem. Then, I have them walk around with their problem and they solve the problems that their class-mates created {again click the picture to grab it}.
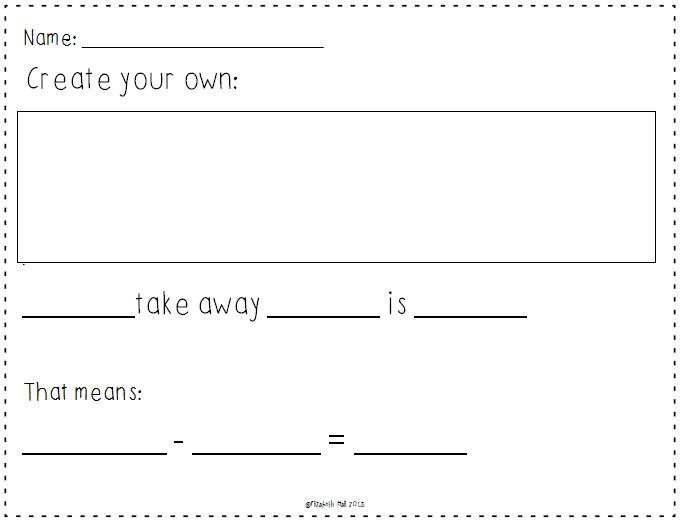

Before they head off to solve problems, walk around to make sure they got the correct answer. I know this might seem like a headache, but when they create their own they want to get it right and there is more ownership involved. Creating and working together is a way to get them to understand the concept of subtraction on a deeper level. They are engaged and working together which are two of my favorite things 🙂 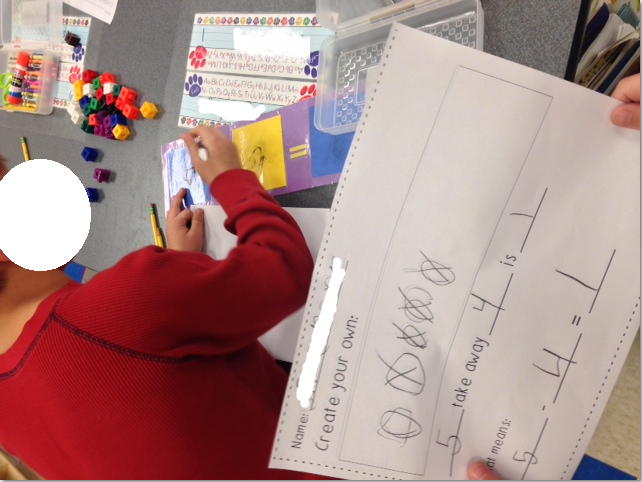
I am a fast paced person. I don’t like to slow down, but if I can give you any advice when it comes to teaching subtraction…go slow. Back up, re-teach, and pull kids one on one. It’s not an easy concept and you just have to be prepared to be patient. As they mess up and get it wrong, give them grace and use it as a teachable moment. I hope this helps your kiddos as much as it did mine!
Happy Subtracting!